but here is when I have to be honest with you and admit that I am not talking about the frozen water but about sodium acetate trihydrate commonly known as hot ice. Don't get scared by the big name its actually very cool chemical (no pun intended) which you can make from 2 house hold items you are most likely to already have in your cupboards and your kids will love it!
The process of making it is a bit fiddly, well it was for us as we tried dozens of times and failed but you don't have to worry we did all the mistakes for you so now if you follow our instruction you can get your hot ice from the first batch!
HOT ICE experiment

So what will you need:
- 1 ltr of white/clear vinegar (acetic acid) - it has to be weak solution 5-6% acidity and the vinegar has to be clear no brown as it would not work. So get to the store and get the cheapest clear distilled vinegar you can get, every supermarket has its own brand (UK readers we used Sainsburys and Tesco both working fine, we tried Wilko's white vinegar meant for cleaning and no success there!) US readers you can get one for example at the Market Pantry or at Costco, Czech readers you can get Destilovany sladovy ocet in Tesco.
- 4 spoons full of bicarbonate soda (baking soda)
- a large pan to boil it so it should hold at least 2 ltr
- a spoon
- a glass beaker (can be any other material which withstands hot liquid)
Now you have all you need so lets get started!!!
Empty the vinegar into the pan and then slowly start adding bit by bit. All the volcano lovers here will know already that soda and vinegar react together so this has to be done slowly or you will get lava instead and you loose most of your liquid at the side of your pan
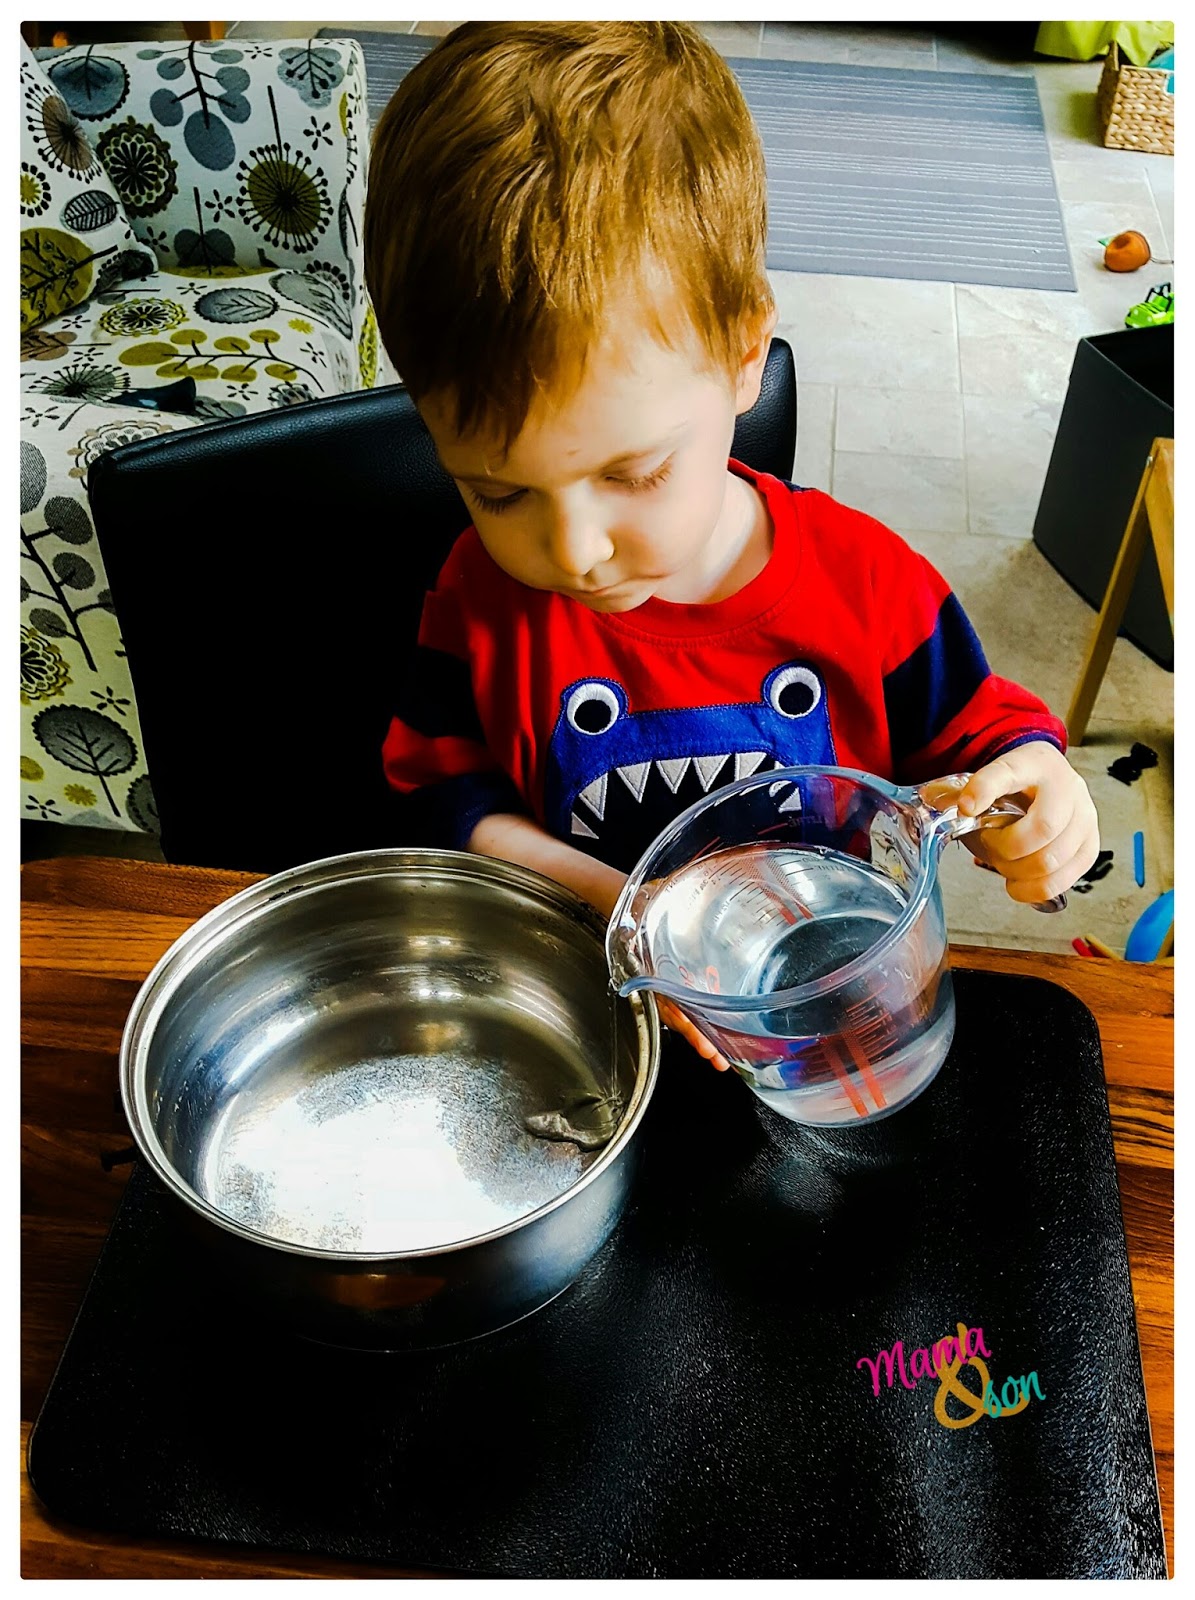
This was an activity for Teddy on its own, he loved it and I must say was really careful adding a spoon full and always waiting for the liquid to stop fizzing before adding another one.

When all the soda is in stir it thoroughly until it all dissolves and you have a liquid resembling water. then you put it on a stove and let it gently boil.

Don't fuss around it, don't stir just let it be!
(Here is when I went wrong the first time by giving it an occasional stir and probably contaminating the liquid with the soda crystals which will start to slowly appear on the side of the pot or who knows what else. SO just set it to boil on slow heat and leave it occasionally checking it. You want the liquid to reduce by 75% and it takes just little bit over an hour. If you cook it on higher heat, it will be done faster but the liquid will go darker. It will work but your ice will just have brownish colour.
This is how your pot will look like during cooking:

Don't worry its just a powder from the sodium acetate solution you are making and it will actually work as a catalyst for your crystals to start forming and growing.
And If you worry about damaging your pan, don't! It will be all washed with just a rinse of water, no scrubbing required, BONUS!!
When you see the liquid has reduced almost the the bottom of the pan and you start to see a sort of film starting to form on top of the liquid like you can see on the picture beneath, the solution is ready!! Just add a spoon of vinegar and stir so all the crystals inside the liquid dissolves. This is very important! You don't want to have any crystals in the liquid or it will freeze before you get a chance to use it! (Yep here is where we went wrong again too!)

So, you got rid off the crystals now pour the liquid into a glass beaker and place the liquid in the fridge to cool. It takes about 45 min maybe longer. The liquid has to be cold to instantly turn into ice that is hot, mind blowing, isn't it?!!

You will end up with about 150 ml of liquid
Another warning! do not put your finger in to check as the liquid will start freezing and it will be frozen before you take it out! (Yep, me again!!) Just check if the jar/beaker is cold.
Before you wash the pan gather some of your sodium acetate powder and keep it at the side to use later as a seed to help the crystals to grow. If you forgot, don't fret and just use a little bit of baking soda!
When your liquid is cold enough, place a little bit of sodium acetate powder in the middle of any dish and get your liquid ready and here comes another warning: be careful not to bum the jar as it is can start of the freezing process! It happened to us too, Teddy was keen to try and as he grabbed it from me it instantly froze!

You now wonder why you even need the powder to start the crystals to form, am I right? well if you want to build a really cool ice tower as you saw in our video on Facebook:Mama and son time ) you need them as a base if not just touch it and feel like Elsa from Frozen for a minute!
If you want to have a tower just start very slowly to pour the liquid out onto your base and watch the magic to happen!!


Let your kids touch it!
Its absolutely amazing. Its hard as ice but its hot at the same time (not too hot to cause any harm to them!)
The solution of sodium acetate is non-hazardous but it could irritate skin and eyes so be careful if your kids are too small or if they have any cut on their hands. We both loved it and didn't have any reaction.


and here is one of the best things!!
Did I not mention that you can re use it again and again?? just melt it and let it cool down again.
You don't have to use a pan to melt it, microwave works just fine, just make sure it all dissolves and there is no crystals or it will freeze up again soon! You can add little bit of vinegar to help to dissolve the crystals.
I found the best is to use a different container to melt it and then pour the liquid once it is clear into a clean beaker as if your beaker has some dry crystals on the rim, doe's not matter how small it can freeze before you pour it out.

Science behind this:
The sodium acetate solution is not just cool, its actually called a super cold liquid when it is in the fridge. In its liquid form the solution is below its usual melting point and once it comes in a contact with a crystal, your finger or it is bumped as mentioned before it will start the process of crystallisation and the liquid turns into a solid, super cool, isn't it?!
I'm not scientific but my understanding of science behind it is that when the molecules of the sodium acetate are in a solution they are surrounded by solvent or water molecules which helps them to break apart if they from time to time meet and stick together...but if enough molecules sticks together (and we already covered what can cause this - finger, bump, crystals) they can fight against the force of the solvent which would normally keep them apart and in a liquid form and a nucleation site is created which helps the crystals to cling to each other and start the process of crystallisation which is what we want to see!!
We found it really interesting as it was super cooled when it was a liquid in a fridge and as soon as you started the reaction it solidified and started to release heat. For releasing heat the sodium acetate is actually widely used inside the hand warmers.
If you made it all the way down here and did not fall asleep I salute you!!
If you like what we do follow us on Facebook for more fun experiments and educational activities:
No comments:
Post a Comment